ML-Agents Python Setup with Anaconda
In this tutorial, you will learn:
- How to download and install Anaconda (for easy Python management)
- How to set up a Python environment for Unity ML-Agents
Anaconda Installation
While there are other ways to install Python, I find that Anaconda is the easiest way to manage multiple Python environments. It’s completely free and works on Windows, Mac, and Linux
- Navigate to https://www.anaconda.com/distribution/
- Choose your operating system (e.g. Windows)
- Download the Python 3.7 version
- Run the installer (Anaconda installation documentation)
Anaconda Environment Setup
Once Anaconda is installed, you will need to set up a new environment for ML-Agents.
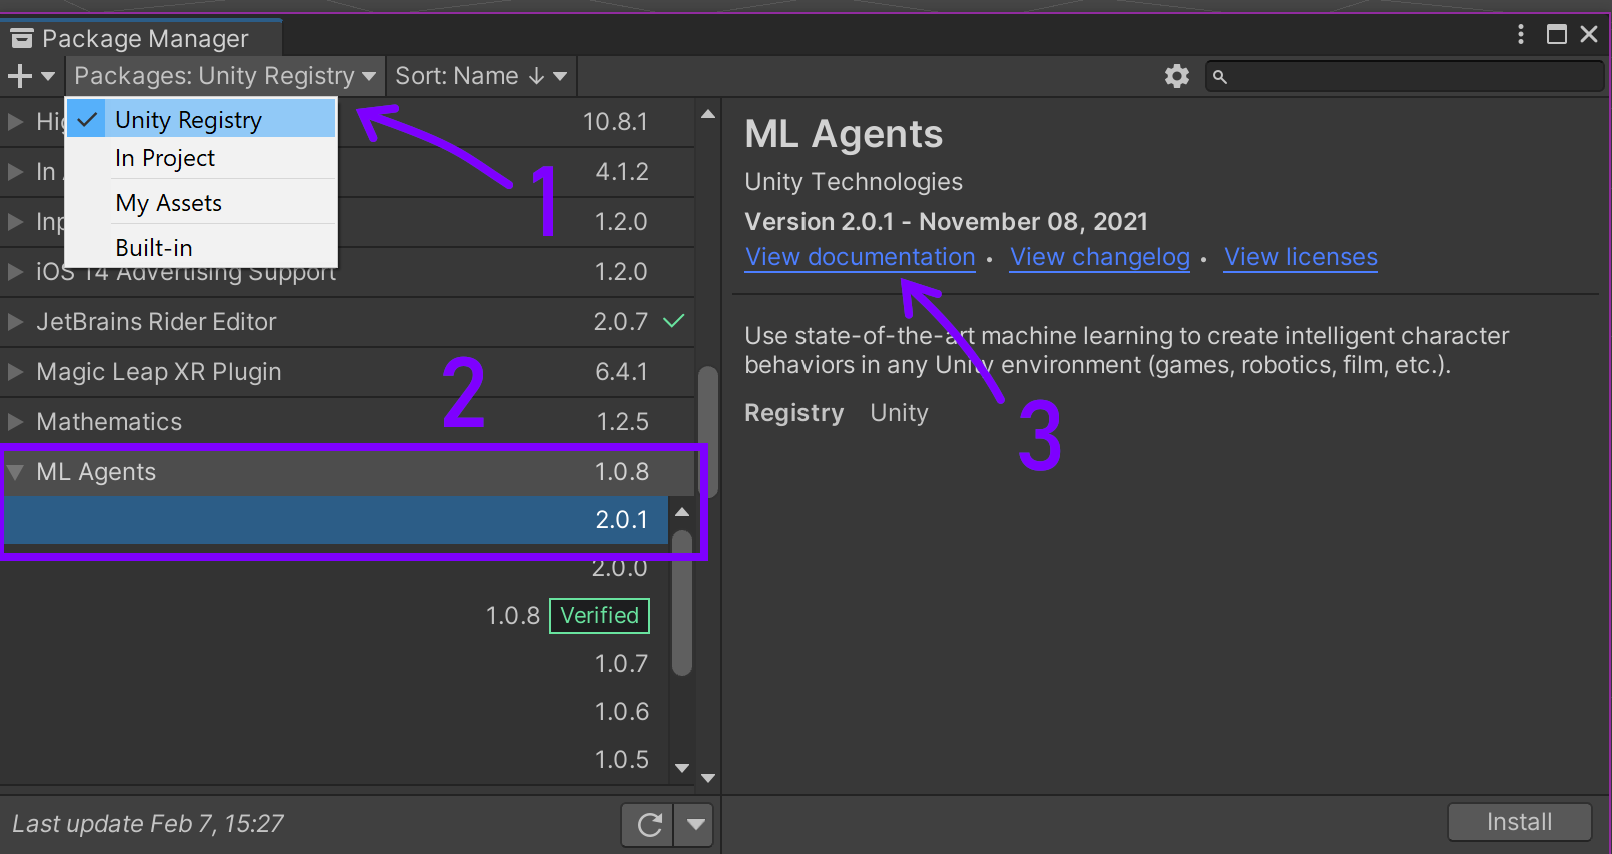
The first thing you'll need to do is determine which release of ML-Agents you're working with. This is a little tricky because they have multiple versioning systems, one for the Package Manager, and one for GitHub.

- Find which Package version you're using by looking in the Package Manager. In my case, the version I'm using is 2.0.1
- Go to the ML-Agents Releases page
- Find the release with the closest match to your package version. In my case it's Release 17, which uses com.unity.ml-agents (C#) v2.0.0, which isn't exact, but is the only 2.0.x release.
- Look in the table for the ml-agents (Python) release. In my case it's v0.26.0
So now we have the info we need: Release 17, ml-agents (Python) v0.26.0.
- Open the newly installed “Anaconda Prompt” (Anaconda prompt documentation)
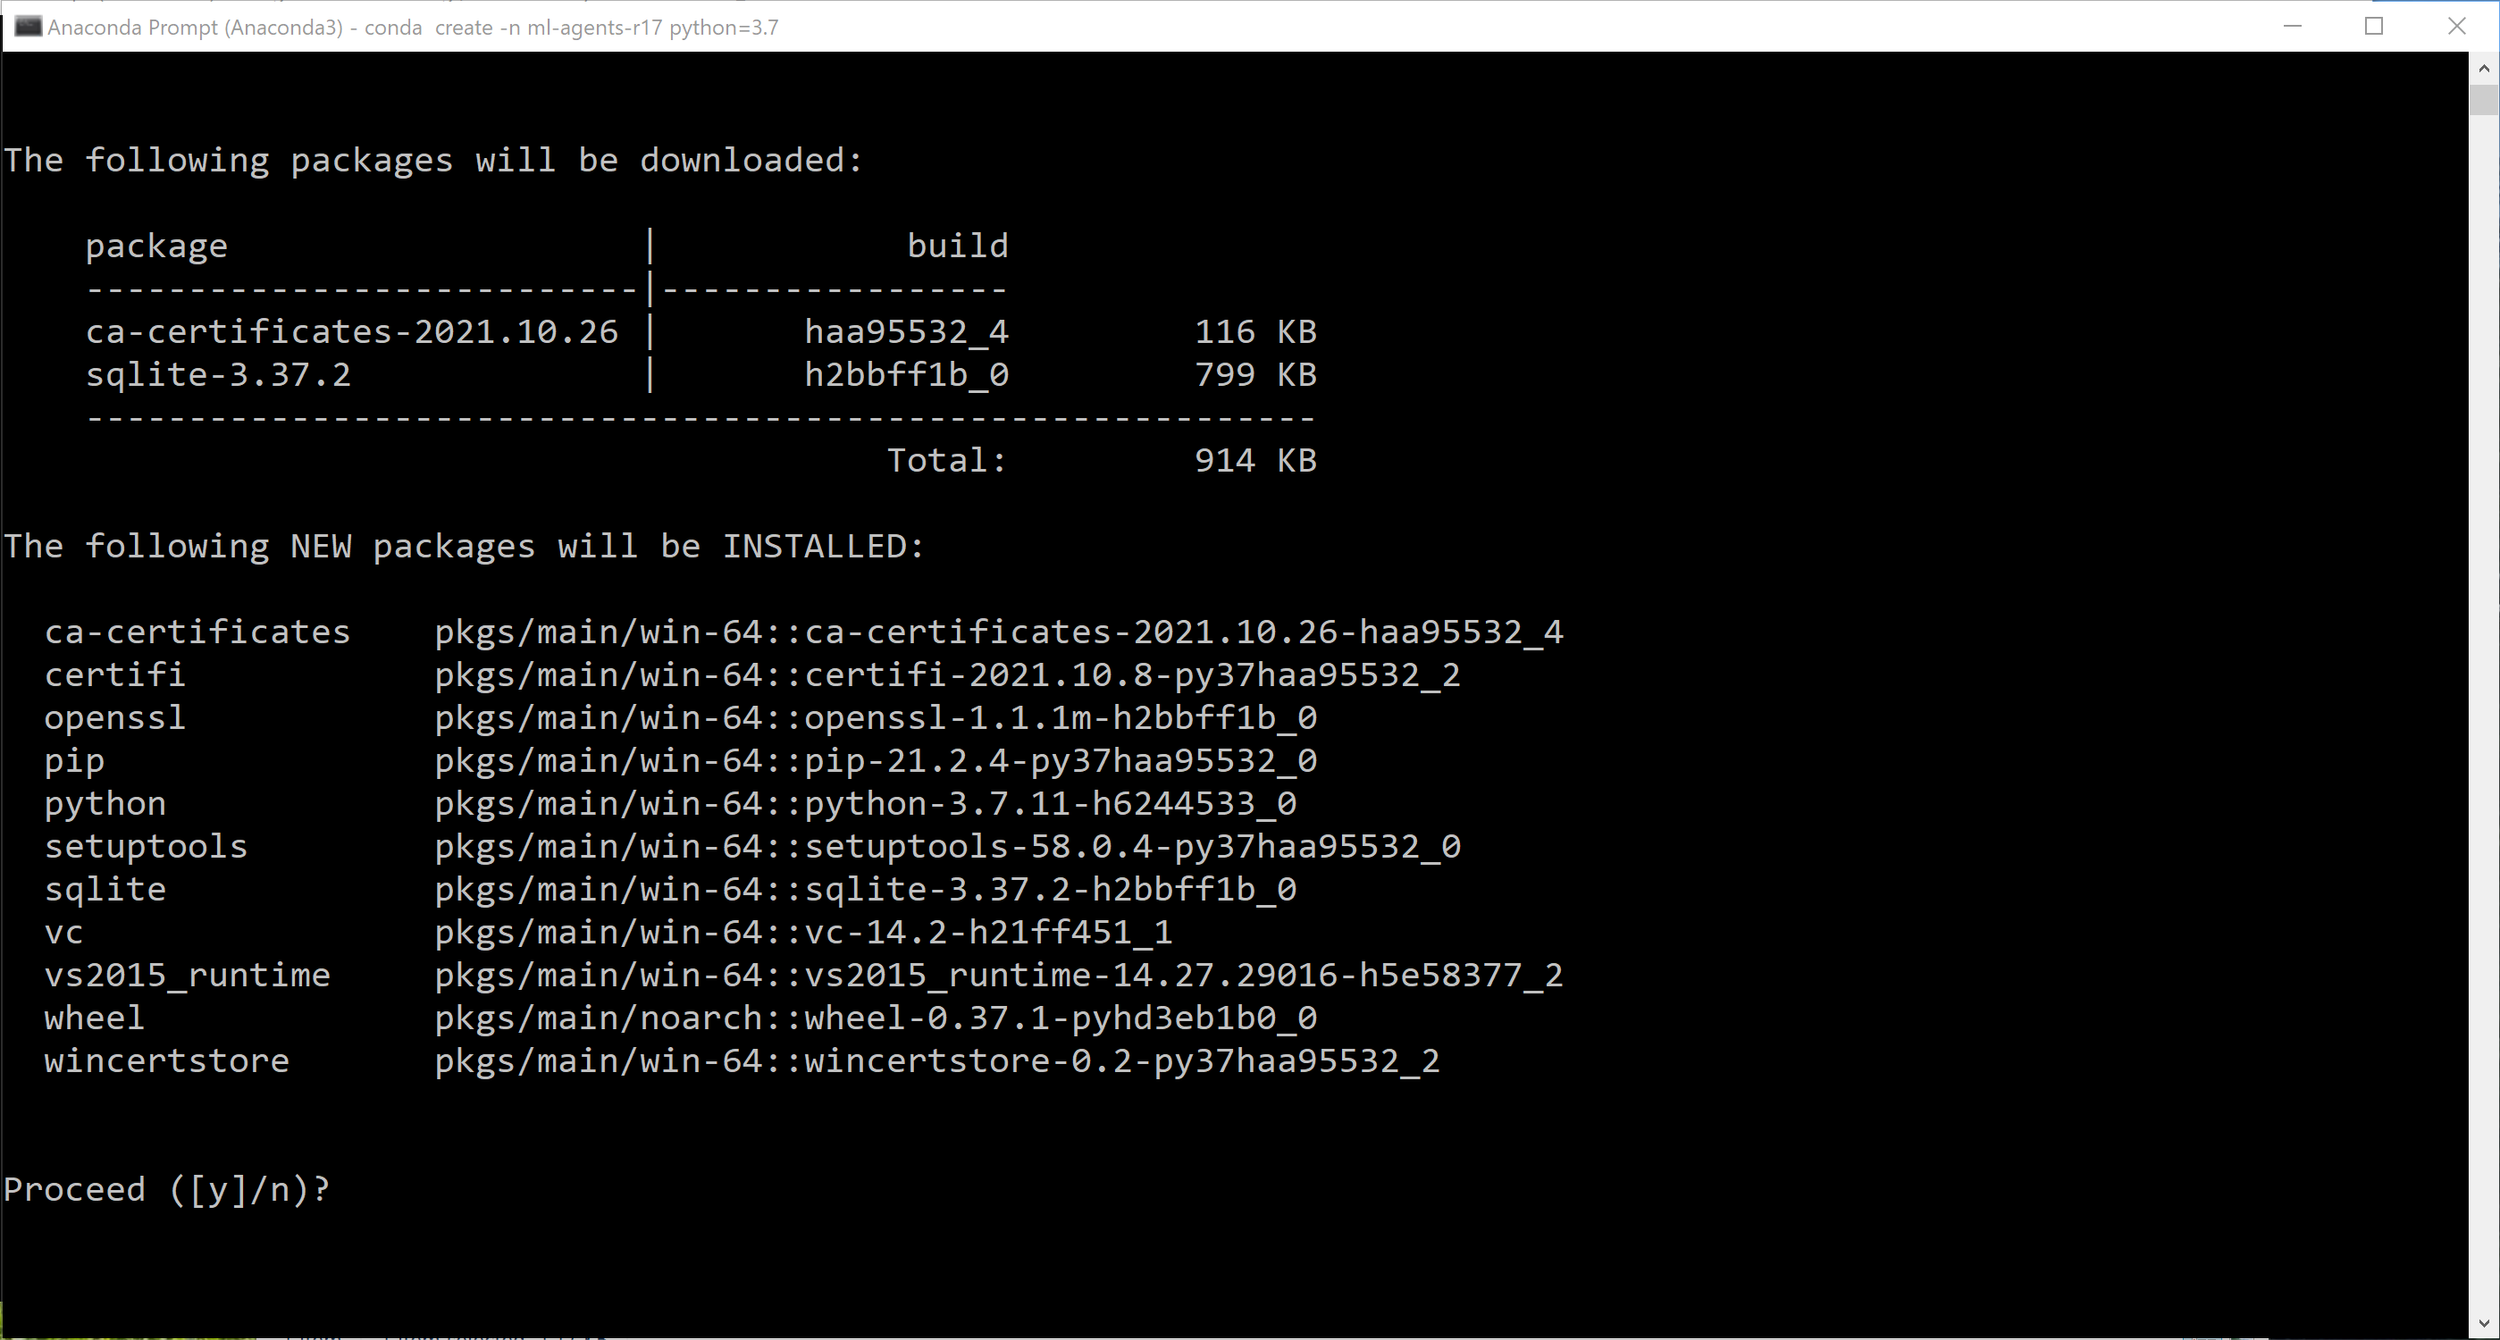
- Run the following command
conda create -n ml-agents-r17 python=3.7
This will create a new Python 3.7 environment called “ml-agents-r17” for release 17. You can name it to whatever you like, I just like to give myself a hint in the future when I have multiple environments with different releases installed.

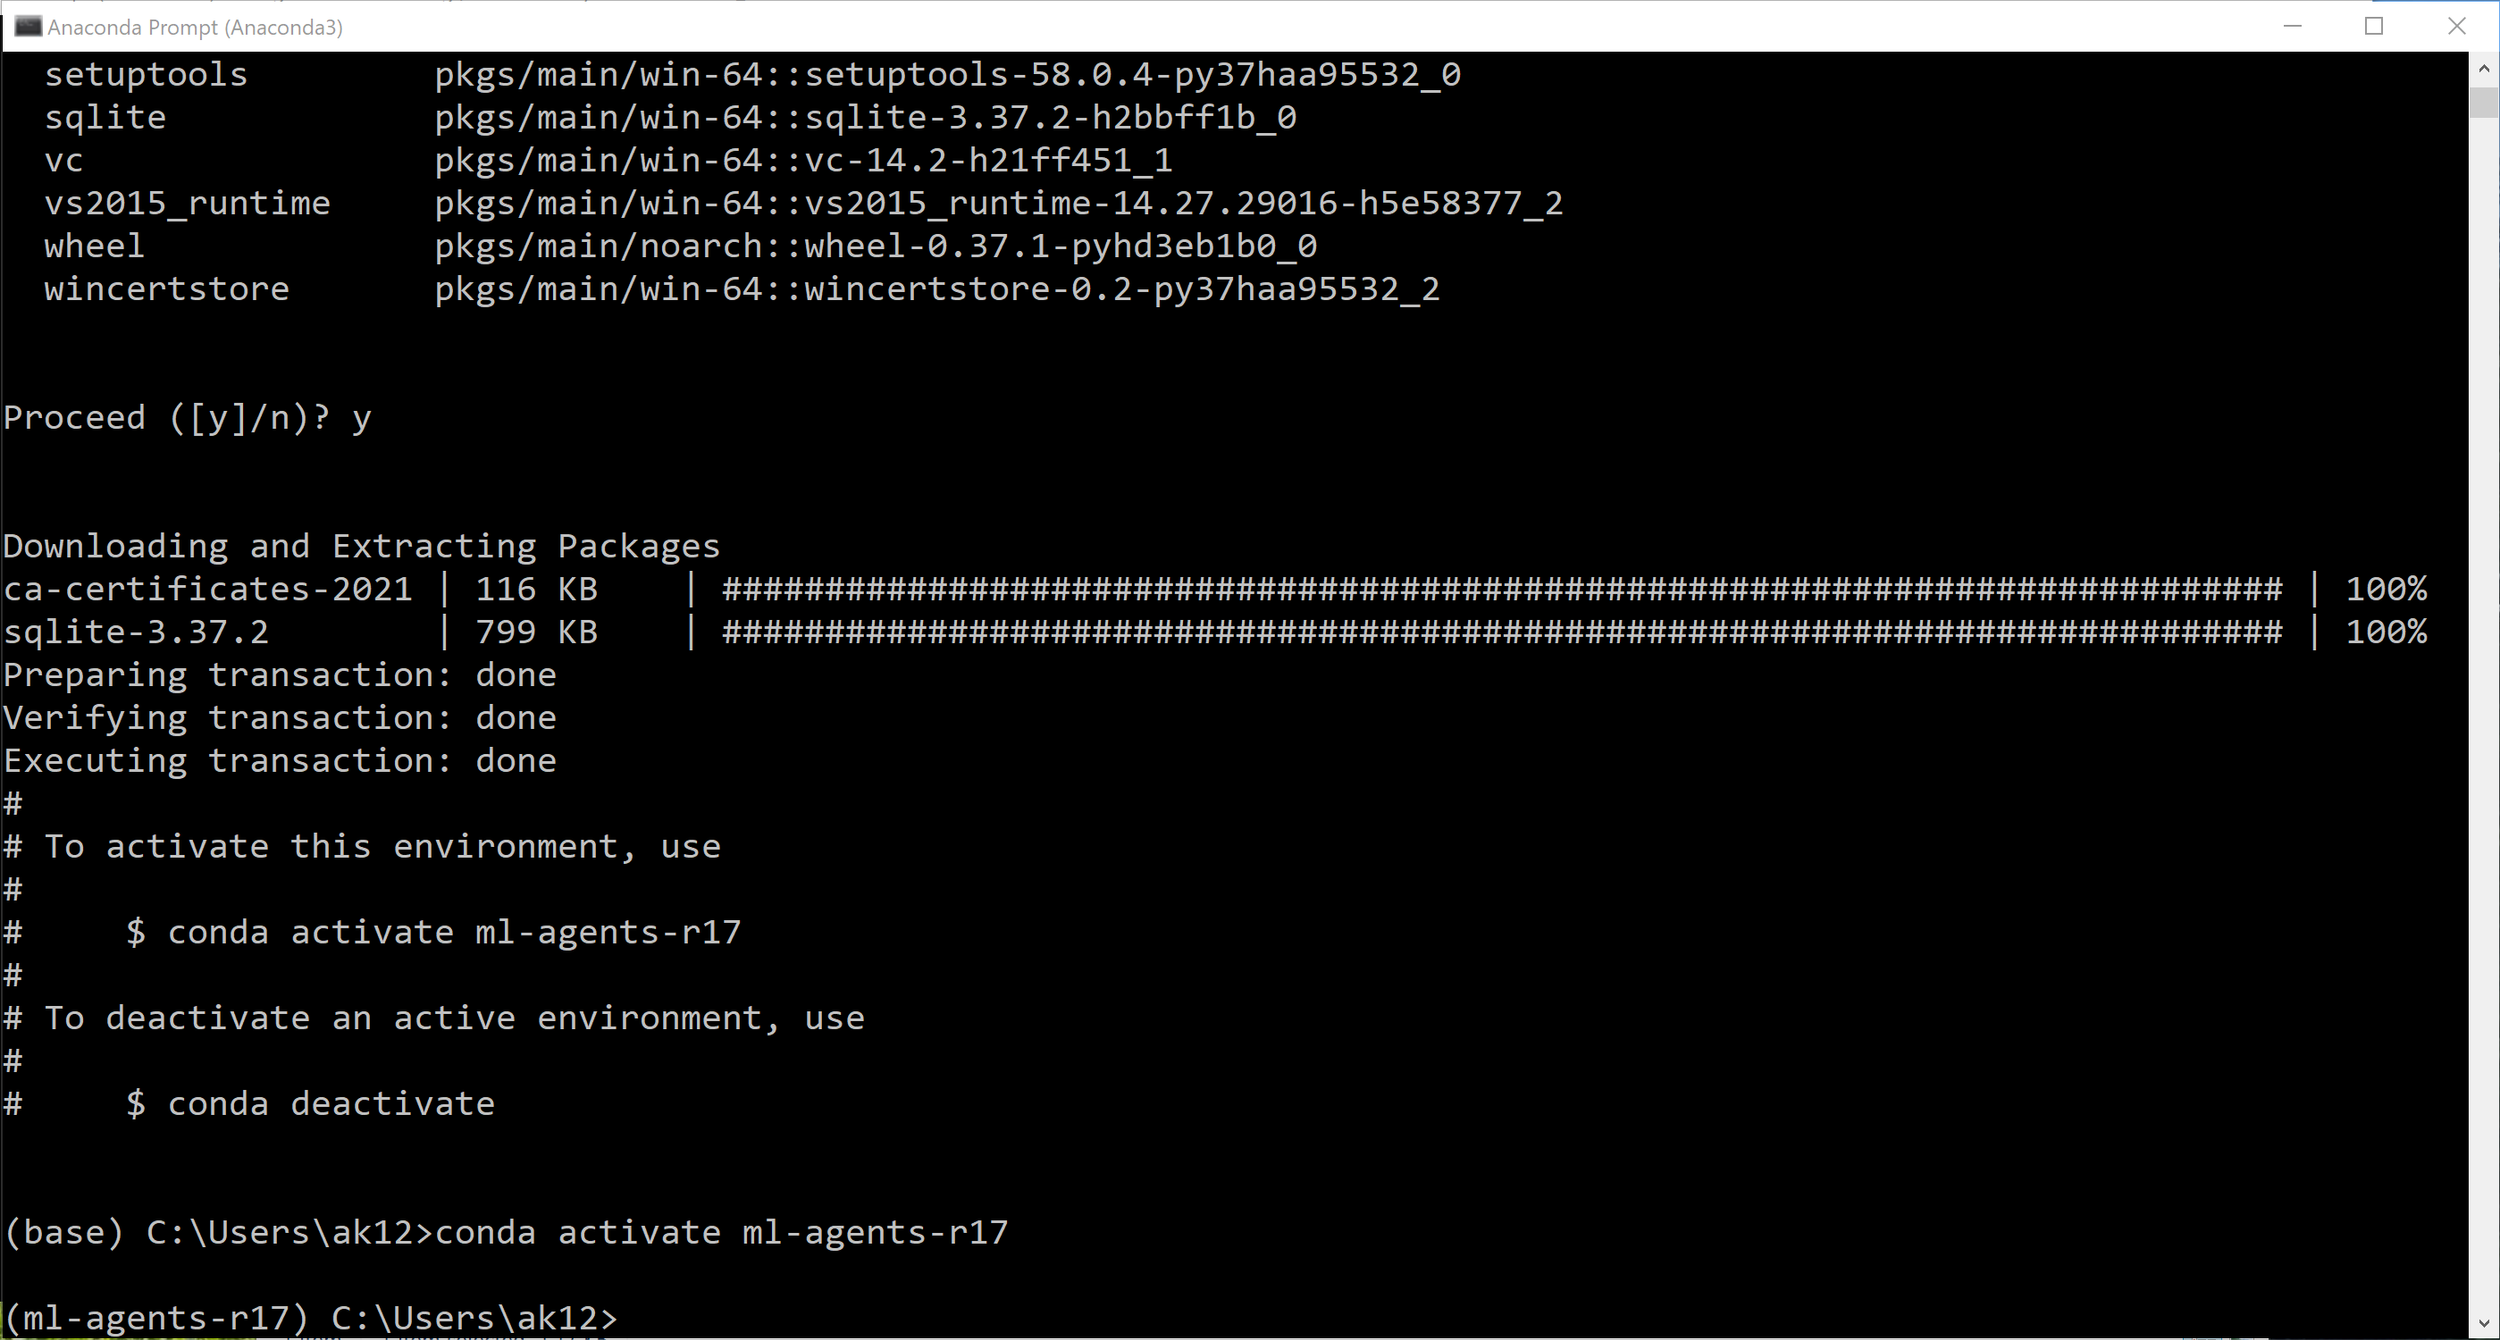
- Type “y” and press Enter to proceed

- Follow the instructions to activate the environment. In my case, I ran
conda activate ml-agents-r17 - Confirm that the environment is active by looking for “(ml-agents-r17)” on the left side of the command prompt
- Windows users will need to install PyTorch
pip3 install torch~=1.7.1 -f https://download.pytorch.org/whl/torch_stable.html - Run the following command to install the correct version of mlagents (v0.26.0 in my case):
pip3 install mlagents==0.26.0
You should now be ready to train your ML-Agents!
