Reinforcement Learning Penguins (Part 1/4) | Unity ML-Agents
Updated to ML-Agents Release 10 as of December 11, 2020
Getting Help
Need general help with ML-Agents? I’m happy to help, but I’m only one person. Did you know there’s an Official Unity ML-Agents forum? That may be the quickest way to get help. 😀
Unity Project Setup and Asset Import
In this tutorial, you will set up your Unity project with ML-Agents and import several 3d Mesh Assets that will be used later in the tutorial.
Unity Project Setup (with ML-Agents)
We've split off general Unity ML-Agents into a separate tutorial so that we can re-use it for other projects.
Follow the instructions here and then come back when you're done:
Unity ML-Agents Setup Tutorial
Import Assets
In this section, you’ll download, import, and set up 3D Meshes for the tutorial.
- Download the free resources for this tutorial:
https://gumroad.com/l/TZNBD 👈 $0+ on Gumroad means you can get them completely for free by typing in a 0, no account required, just an email address.
Now we'll import these assets to our project.
- Create a new folder in Unity called Penguin inside Assets.
- Create another folder called Meshes inside Assets\Penguin.
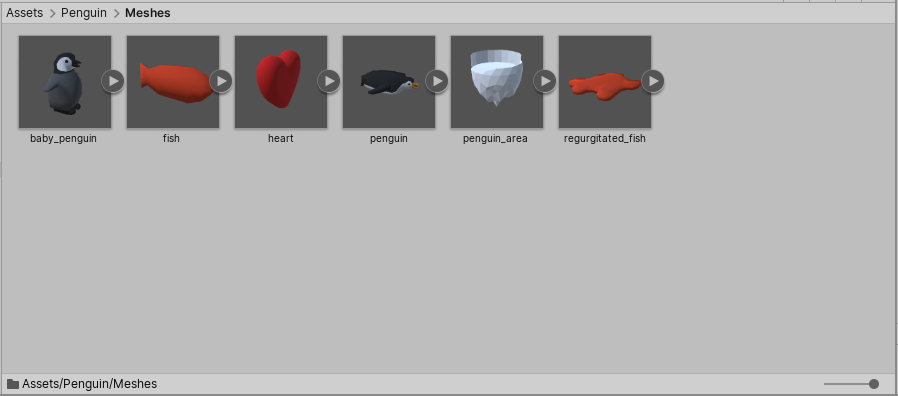
- Import the .fbx files (3d Meshes) to the Meshes folder.
Figure 01: The Meshes folder should look like this after all .fbx files have been imported
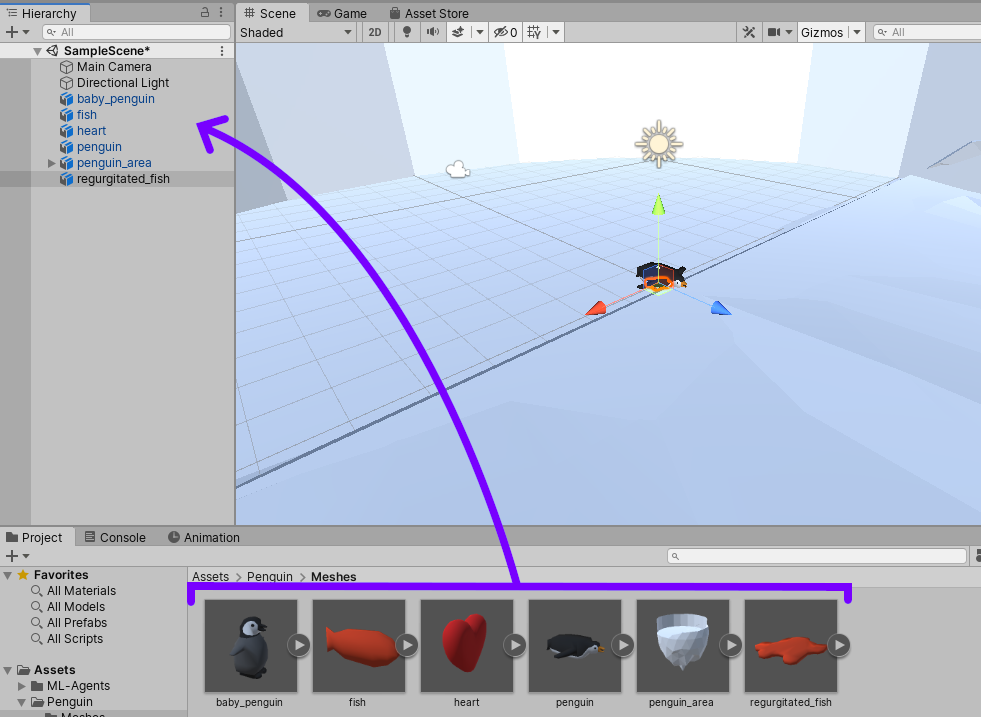
- Drag each of the Meshes into the Scene, one at a time (Figure 02). It’s okay if they overlap.
Figure 02: Each Mesh should be dragged up to the Scene hierarchy individually.
- Rename each item as follows:
- baby_penguin > BabyPenguin
- fish > Fish
- heart > Heart
- penguin > Penguin
- penguin_area > PenguinArea
- regurgitated_fish > RegurgitatedFish
- Create a new folder called Prefabs inside Assets\Penguin.
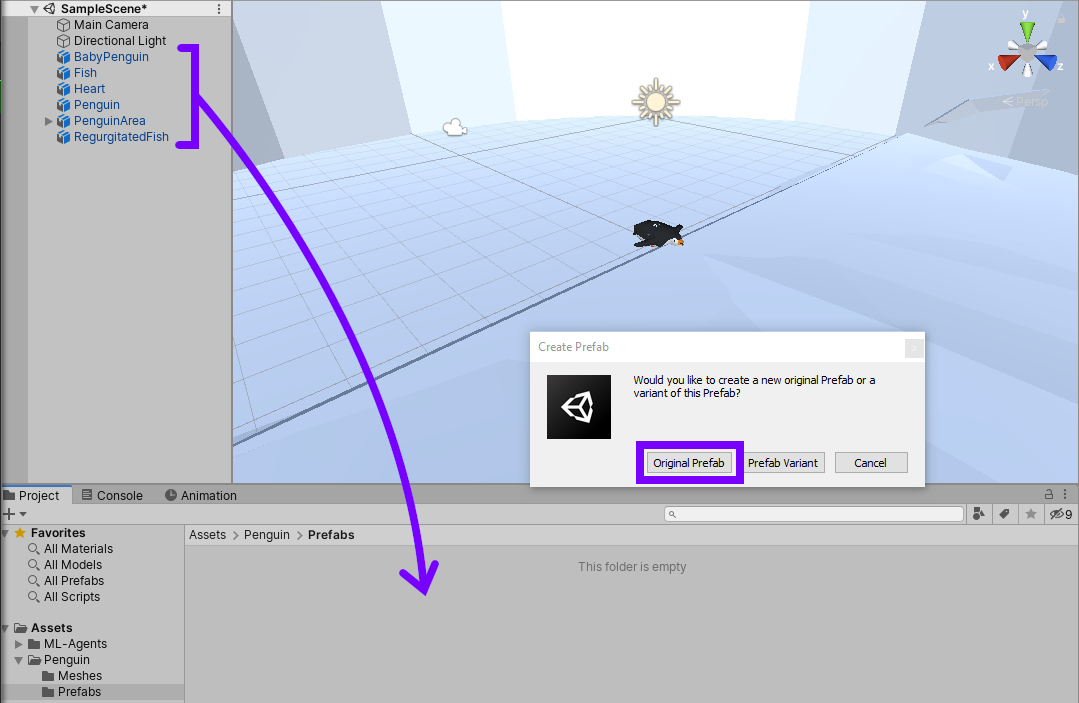
- Drag each renamed object down into the Prefabs folder, one at a time (Figure 03).
- Click the Original Prefab button on each to create a set of Prefabs.
Figure 03: Drag each object into the Prefabs folder and choose Original Prefab.
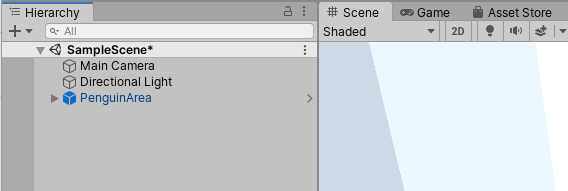
- Delete all of the Prefabs from the Scene except PenguinArea.
Figure 04: The Scene Hierarchy after all but PenguinArea has been removed.
Conclusion
You should now have a Unity project containing the ML-Agents directory and several 3d Mesh files. This is the standard way to set up a new ML-Agents project. You’ve also created Prefabs for each of the Meshes that will be used in subsequent tutorials.
Tutorial Parts
Reinforcement Learning Penguins (Part 1/4)
Reinforcement Learning Penguins (Part 2/4)
Reinforcement Learning Penguins (Part 3/4)
Reinforcement Learning Penguins (Part 4/4)


